-
Free Crochet Belt Pattern
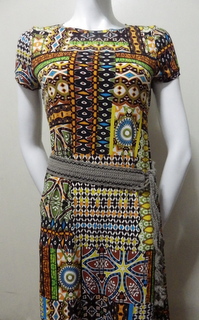
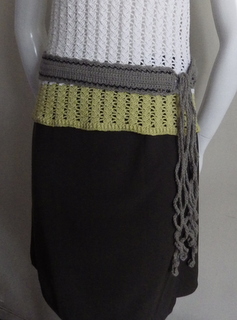
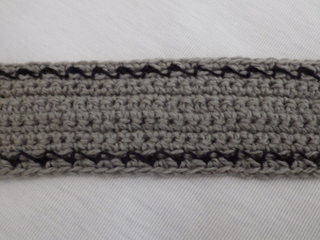
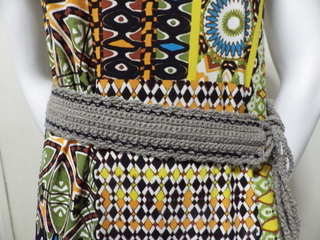
This is an easy step by step photo tutorial of crochet belt.
Nedded
Stainless Hook: 0 / 3 – 3.25MM
Yarn: Fingering Yarn (Stash Yarn)
Term Used
Ch : Chain
Sc: Single Crochet
Sl st : Slip stitch
Free Crochet Belt Pattern Instructions
Foundation Chain, Chain 160, If you’re tired of counting foundation chain, please click here for the techniques. You may adjust your crochet belt according to your desired length.
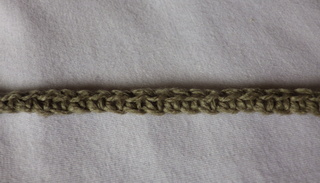
Row 1: Sc in 2nd chain from hook, sc through all the chain.
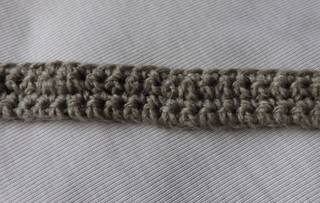
Row 2: Ch 1,turn, sc through all the sts.
Row 3 - 4: Repeat row 2.
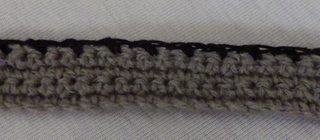
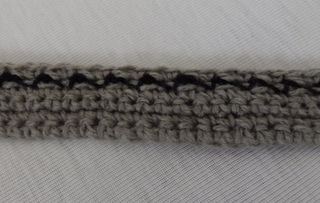
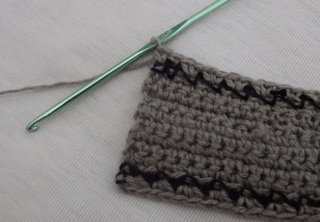
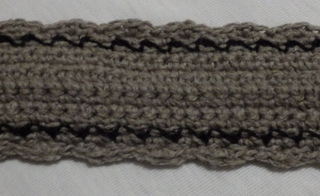
Row 5: Change yarn color. Attach yarn in last sc of previous row, ch1, turn, sc in the same st, sc in next st, (ch1, skip 1 st, sc in next st) all through the sts, end with one more sc. (81 sc)
Row 6: Change color. Attach yarn in last sc of previous row, ch1, sc in the same st, sc in next st, skip 1ch sp, (2sc in next sc, skip 1ch sp) all through the row, end w/ sc in last 2 sts. Cut off.
Other Side:
Repeat row 1-6 do not cut.
Row 7: This will be last row and it serve as the edging of all sides.
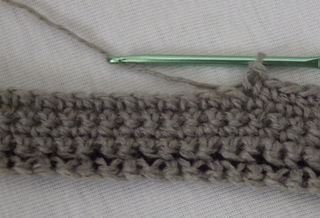
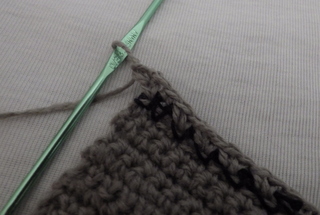
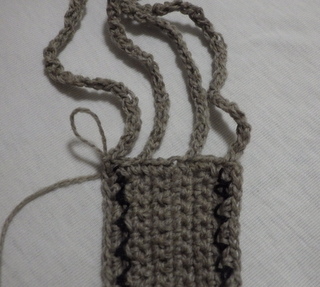
( Tassel ) Ch 1, Turn right 90⁰ , insert hook in 2 loops of the side of sc as shown on the picture,
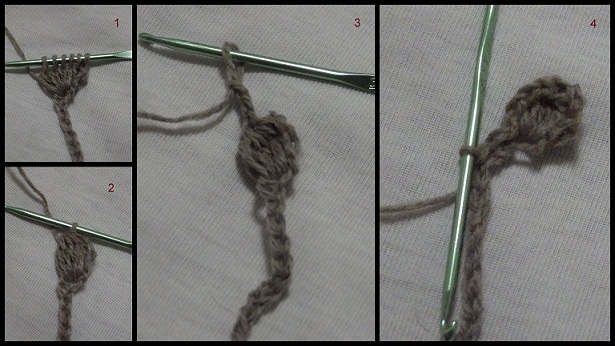
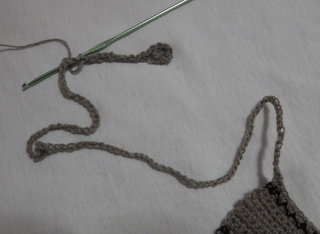
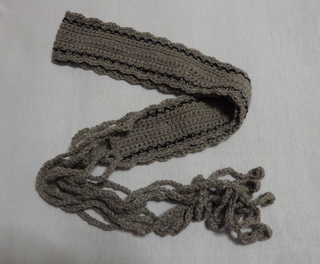
now, we will start on crocheting the latches of our crochet belt, *ch 94, 5dc cluster in 4th chain from hook, ch 3, sl st in the same st,
(ch1, skip 1ch, sl st in next st) all through the chain, sl st in top of sc*, sc in next side of 3 sc, repeat *to*, sc in next side of 4sc, repeat *to*, sc in next side of sc, repeat *to*, turn right 90⁰,
( Edging of our Crochet Belt ) sl st in the same st, skip 1sc, (3 sc in next sc, skip next sc) across the row, end with sl st in last st, repeat the tassel for next end and edging of the belt once more. Cut off. Weave in ends.
If you would like to support my work as a crochet designer, buy me a cup of coffee.
Stay up to date on Girlies' Crochet . com for free crochet pattern and news related to crochet.
You might also like....
-
-
Girlie's Crochet > Free Crochet Pattern > Free Crochet Belt Pattern





New! Comments
Have your say about what you just read! Leave me a comment in the box below.